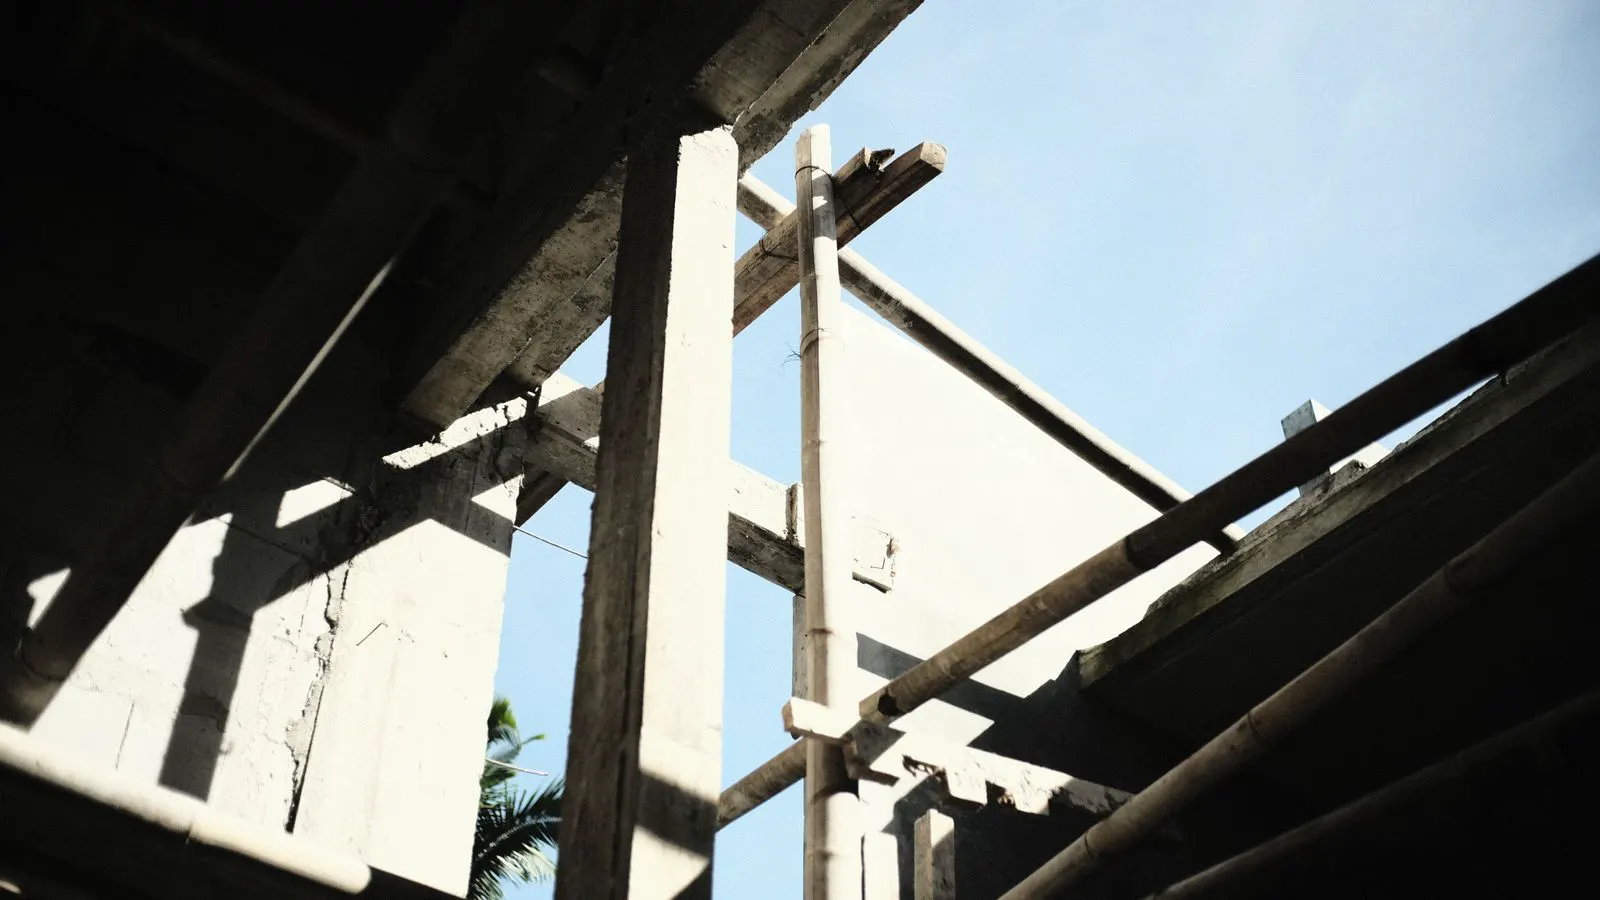
Checklist for Safe Beam Shoring Setup Before Pour
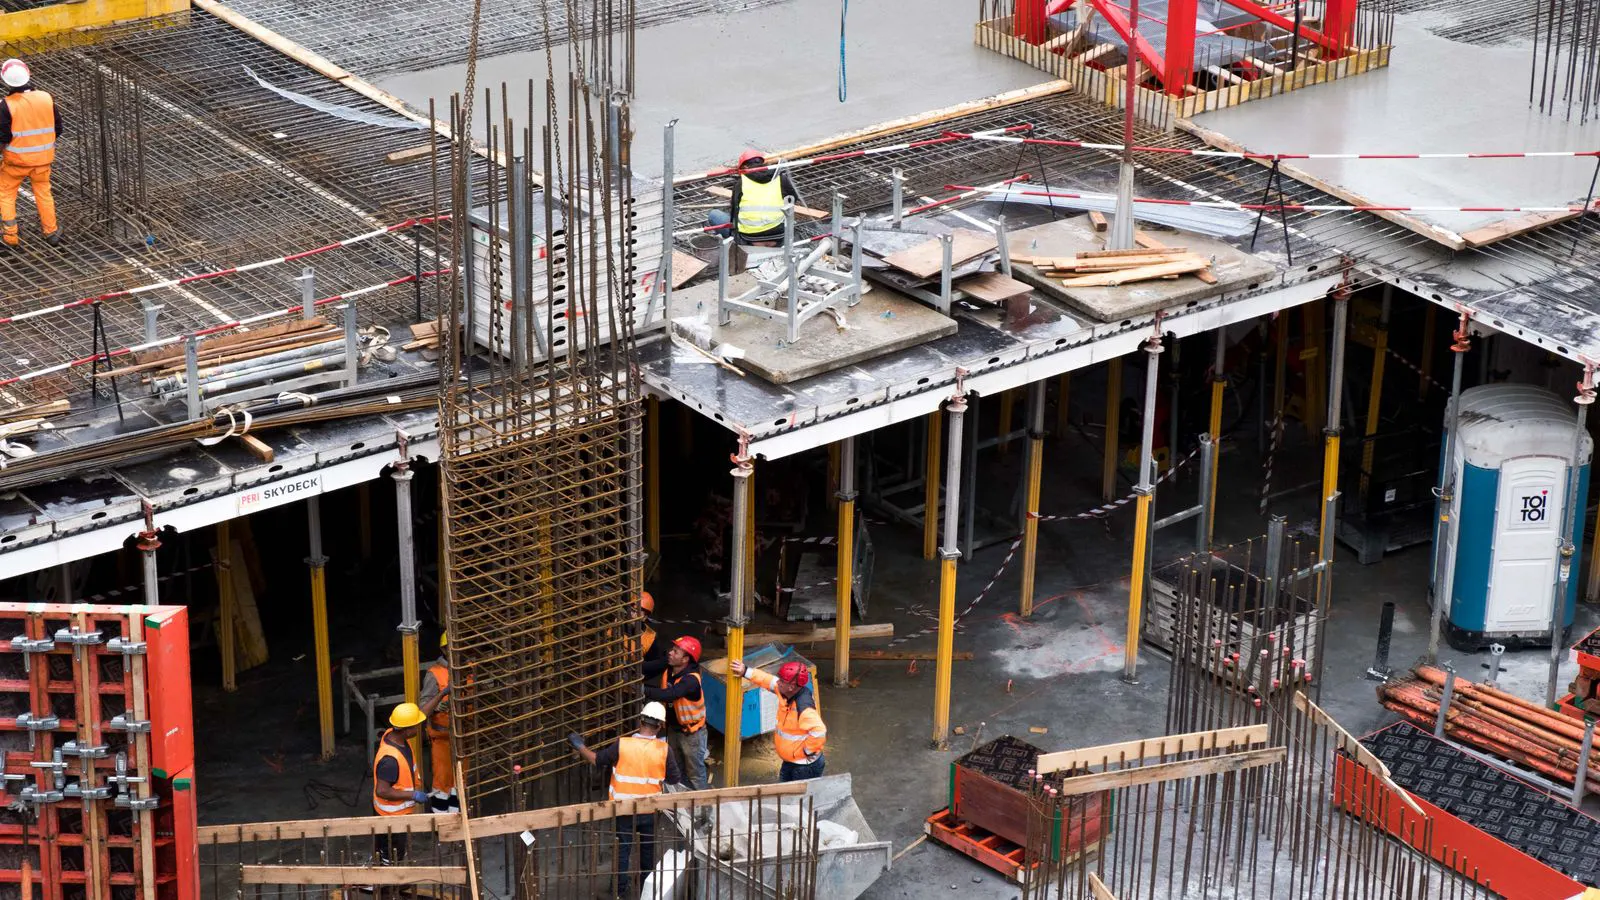
Verify beam shoring supports before pouring concrete. Check prop spacing, base plates, and vertical alignment. This pre-pour shoring inspection ensures load paths are sound and prevents structural failure during the pour.
- Verify that every beam shoring support is vertical and seated on a stable base plate before the pour begins.
- Check prop spacing against the formwork design to ensure no unsupported span exceeds the calculated limit.
- Confirm that all connections are tight and that no prop is overloaded or leaning against other equipment.
- Document the shoring inspection with photos and sign-off to create a clear safety record for the site team.
Why a Pre-Pour Shoring Inspection Matters
A beam shoring setup can fail if even one prop is misaligned or if the load path to the ground is compromised. Concrete pours place heavy, static loads on the formwork system. The beam shoring supports must handle that weight without bending, slipping, or buckling.
Most shoring failures happen before the concrete hardens. Workers often rush the final checks while the pump is priming. This is the worst time to discover a loose base plate or a prop that is leaning. A five-minute inspection can stop a catastrophic collapse.
This checklist is designed for the final walk-down before the pour. It groups checks by theme so you can move through the site systematically. Each item includes a red flag to help you spot problems quickly.
Check Prop Alignment and Verticality
The first step is to verify that each beam shoring support is perfectly vertical. A leaning prop shifts the load into a lateral force. That force can crack formwork or pull the connection out of place.
Stand back from the prop and look for a tilt. Use a spirit level or a laser if available. Even a small angle can become a major issue once the full weight of the concrete hits the system.
Check the top of the prop against the formwork beam. It should rest flat and centered on the bearing plate. If the top is hanging off the edge, the load is uneven.
Red flag: If a prop looks straight from one side but tilts from another, it is not vertical. Re-seat the base or adjust the screw until it stands true.
Verify Base Plates and Ground Conditions
Every prop must sit on a base plate that is larger than the prop foot. The base plate spreads the load over the ground or the slab below. Without it, the prop can punch through weak surfaces.
Inspect the ground or slab where the prop stands. Soft soil, wet fill, or cracked concrete can shift under load. If the ground is uneven, use a level pad or a thick base plate. Do not rely on small wood blocks that compress over time.
Check for debris under the plate. Gravel, water, or old formwork scraps can create a pivot point. The base plate must bear directly on solid ground.
Red flag: If the base plate sinks into the ground or tilts, stop the pour. Re-grade the area or use a larger plate. Never pour over an unstable base.
Inspect Prop Spacing and Load Distribution
The spacing of beam shoring supports is determined by the formwork design. Too wide a gap means the formwork sags. Too close a gap wastes materials but can create uneven loads.
Measure the distance between props along the beam. Compare it to the design drawing. If the drawing is not available, check against the manufacturer’s load chart for the specific prop size.
Look at the load distribution. If one prop is carrying more weight than the others, it may be overloaded. This often happens when the beam is not level or when the formwork is misaligned.
Red flag: If one prop is noticeably shorter or longer than its neighbors, the beam is out of plane. Adjust the props until the beam is level and the loads are equal.
Examine Connections and Fasteners
Every connection in a shoring system is a potential failure point. Check the couplers, pins, and clamps that join the props to the formwork.
Tighten every bolt and nut. Use a torque wrench if the connection requires a specific torque. Loose couplers can slip under load, causing the prop to fall or shift.
Inspect the pins for wear. Bent or cracked pins should be replaced immediately. Do not reuse damaged hardware.
Red flag: If a pin does not seat fully or a bolt spins without tightening, the connection is compromised. Replace the part and re-check the alignment.
Review the Shoring Design and Documentation
Before you start the physical walk-down, check the shoring design. The design document should show the prop size, spacing, and load capacity. Confirm that the installed system matches the drawing.
Look for the load calculation. It should account for the weight of the concrete, the formwork, and the workers on the beam. If the pour is split into zones, verify that the shoring is sized for the worst-case zone.
Red flag: If the design document is missing or outdated, stop the pour. Do not guess the load capacity. Get the engineer to verify the system before proceeding.
Final Walk-Down and Sign-Off
The final step is a full walk-down with the site supervisor or engineer. Walk the entire length of the beam. Check every prop, base plate, and connection.
Take photos of each section. Label the photos with the beam number and date. This creates a visual record for the shoring inspection.
Sign the inspection form. Note any items that were corrected during the walk-down. Keep the form on site for reference.
Red flag: If any critical item fails the check, do not sign off. Fix the issue and re-inspect. A delayed pour is safer than a failed pour.
| Check Item | What to Look For | Red Flag |
|---|---|---|
| Prop Verticality | Prop stands straight, level on top and bottom | Prop leans or tilts in any direction |
| Base Plate Size | Plate is larger than prop foot, flat on ground | Plate is small, tilted, or sinking into soil |
| Prop Spacing | Matches design drawing, uniform along beam | Gaps too wide or unevenly spaced |
| Connection Tightness | Bolts and pins are tight, no play in couplers | Loose bolts, bent pins, or cracked hardware |
| Design Match | Installed props match size and spacing in drawing | Prop size or spacing differs from design |
| Ground Condition | Solid, level ground or slab under base plates | Soft soil, cracks, or debris under plates |
Common Mistakes in Beam Shoring Setup
Many teams skip the small checks that cause big problems. Here are the most common mistakes to avoid.
-
Using the wrong base plate. A small plate concentrates the load. It can punch through weak ground. Use a plate that spreads the load over a larger area.
-
Overlooking prop height adjustments. Adjusting props too much can weaken the structure. Keep the screw extension within the manufacturer’s recommended range.
-
Ignoring lateral bracing. Props need lateral support if they are tall or if the beam is long. Add braces or ties to prevent swaying.
-
Pouring over untested connections. Do not assume the hardware is good. Check every bolt and pin before the concrete hits the formwork.
-
Skipping the documentation. Without a signed shoring inspection, you have no proof that the system was checked. Keep the records on site.
How to Handle a Failed Check
If you find a red flag during the walk-down, stop the pour. Do not try to fix minor issues while the pump is running.
Identify the problem. Is it a loose bolt? A leaning prop? A soft base? Fix the specific issue. Re-check the area after the fix.
If the problem is major, such as a cracked prop or a failed base, replace the part. Do not patch it. A shoring system must be sound from start to finish.
Once the fix is complete, re-run the checklist for that section. Sign off and resume the pour.
Keeping the System Safe During the Pour
The inspection is not just for the start. The system can change during the pour. Watch for shifts in the props as the concrete loads.
Assign a spotter to watch the shoring supports while the pour is in progress. If a prop shifts or a base plate tilts, stop the pour immediately.
Do not walk on the formwork until the concrete has set. The weight of workers can overload the beam.
After the pour, remove the shoring only when the concrete reaches the strength specified in the design. Do not rush this step. Premature removal can collapse the fresh concrete.
Conclusion
A safe beam shoring setup starts with a thorough pre-pour inspection. Check every prop, base plate, and connection. Verify the spacing against the design. Document the findings.
This checklist is your final safety net. Use it every time you pour concrete. A few minutes of careful inspection can prevent a costly and dangerous failure.
Frequently asked questions
How often should I inspect beam shoring supports?
Inspect them before every pour. Re-check them during the pour if you notice any movement or shifting.
Can I use wood blocks instead of base plates?
Wood blocks can be used if they are thick, dry, and sized correctly. They should not be used on soft or uneven ground.
What if the ground is soft or wet?
Use a larger base plate or a level pad. If the ground cannot support the load, relocate the prop or use a temporary slab.
Do I need an engineer to sign off on the shoring?
For most commercial and residential projects, yes. The engineer should verify the design and the installation.
How long do I need to wait before removing the shoring?
Wait until the concrete reaches the strength required by the engineer. This usually depends on the mix and the ambient temperature.